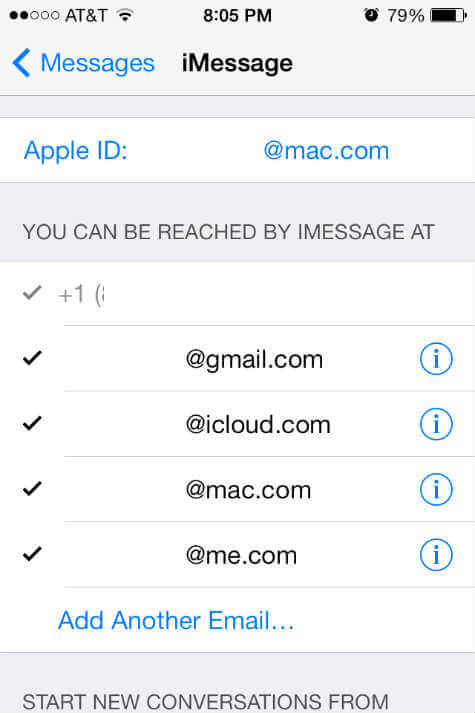
You need MAC OS X Mountain Lion v 10.8 or later and iOS 6 or later to use this feature on your MAC. Make sure you signed with valid Apple ID in your iPhone before you start this feature in OS X. You can find out and add more addresses for the Messages in your iOS devices. Go to iOS Settings > Messages > Send & Receive> You can be reached by iMessage at: and see the list of address that enabled for Message service.
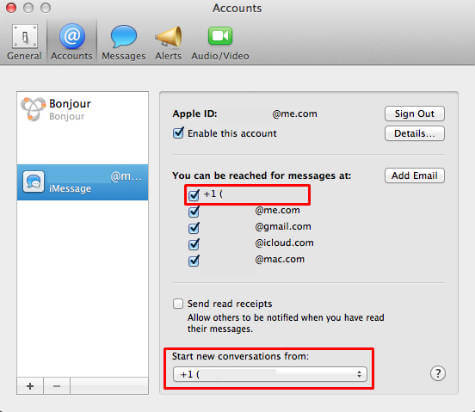
If you want to add another address in this list, please tap on Add Another Email… and follow the instructions. In this list, the check marked addresses including the number is capable to send and receive iMessages. See the similar screen in your MAC. Open your Messages app in MAC, go to Messages > Preferences > Accounts. Please make sure that you signed in with the same Apple ID that you used in iPhone.
You can see the list of IDs that you can be reached by iMessage. See the pull down window named as Start new conversation from: and select the phone number if you want to send the messages from MAC using your iPhone number as Message ID. Please see your iPhone number activated in the list in MAC. It is possible to enable or disable any address that you want to add or remove from message service.
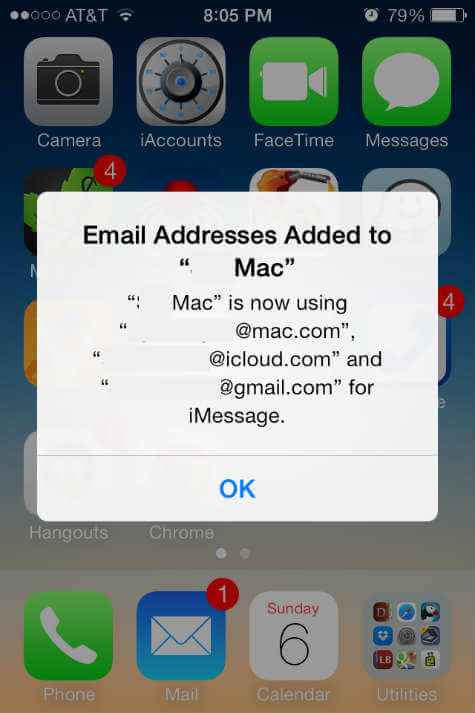
Once you add or remove the the address, you will get immediate notification in all iOS devices that logged in with the same Apple ID. If you are not seeing this phone number in any of your device, please make sure you are using same Apple ID all the places to log in. The second step is that simply log off and log back in from your Messages and Facebook setting and this will bring back the phone number in your message service.
Δ


